
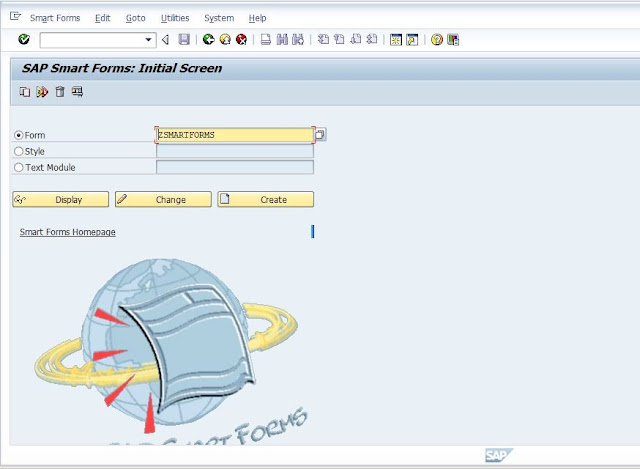
Step 1. Go To Trans. Code SMARTFORMS. Provide form name. .
Click On Create
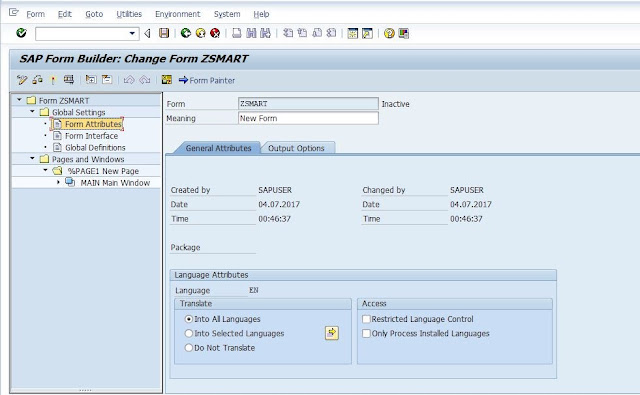
Step 2. Form Attributes . Enter Description.
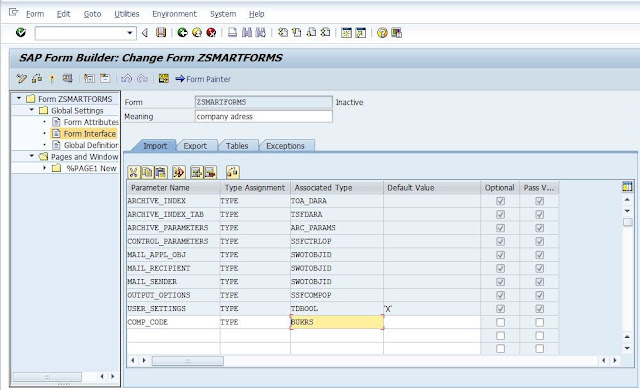
Step 3. Form Interface, Provide Import parameter.
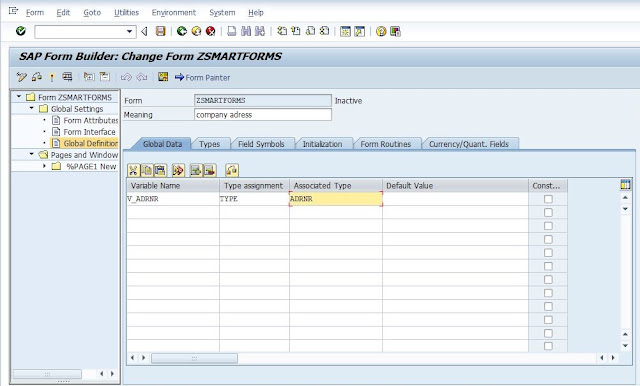
Step 4. Global Definition , declare Variables.
Step 5. Create Title Window.
Right Click on pages and windows → Create → Window.
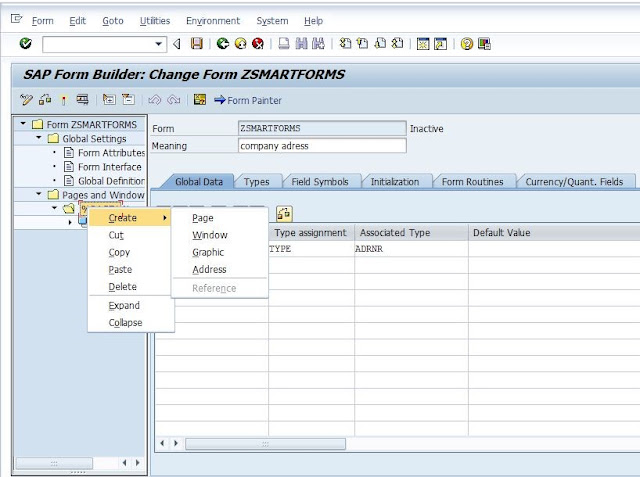
Provide Window Name. Provide Position & Size Values.
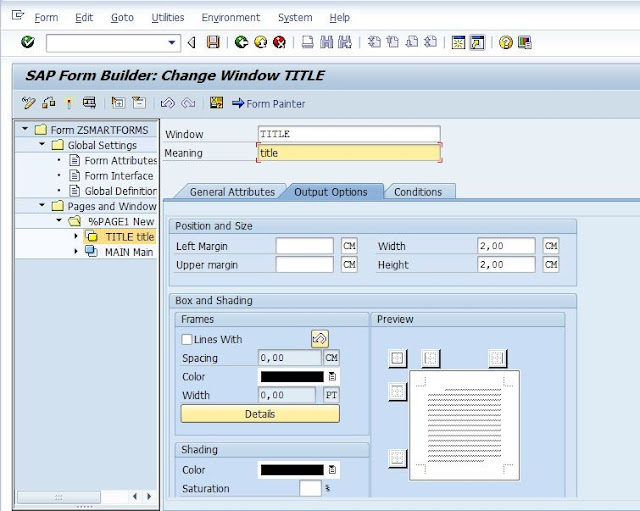
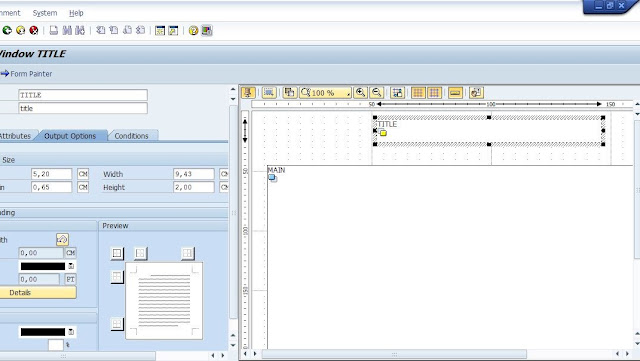
It Can Be Set Manually , Click On Form Painter & adjust Position & Size.
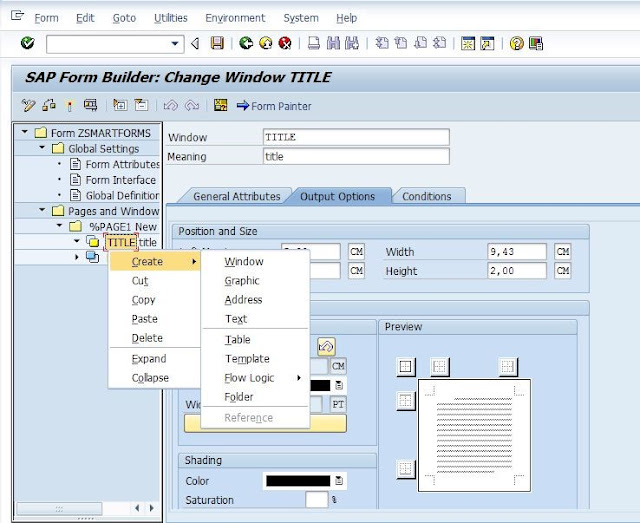
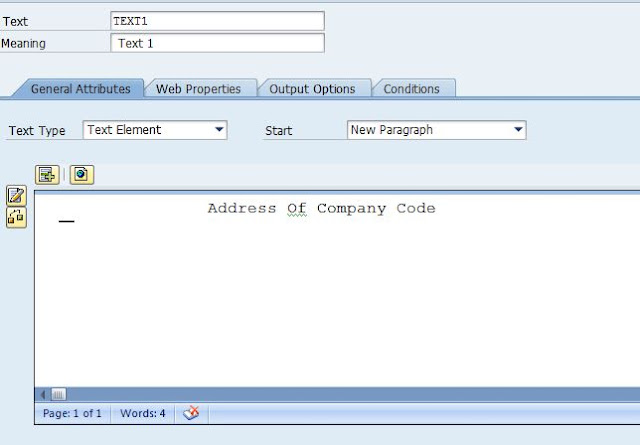
Create Text For Title Window.
Right Click On Title → Create → Text.
Enter Text For Title in Text Editor.
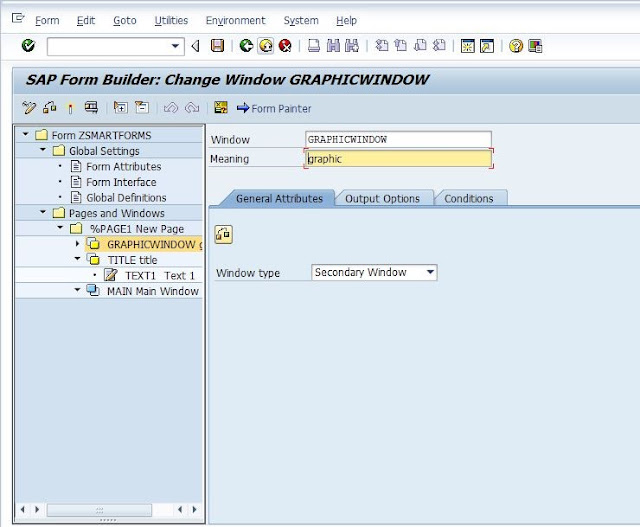
Step 6. Create GraphicWindow.
Right Click on Program & Windows → Create → Window.
Provide Window Name & Type.
Create Graphic For Graphic Window.
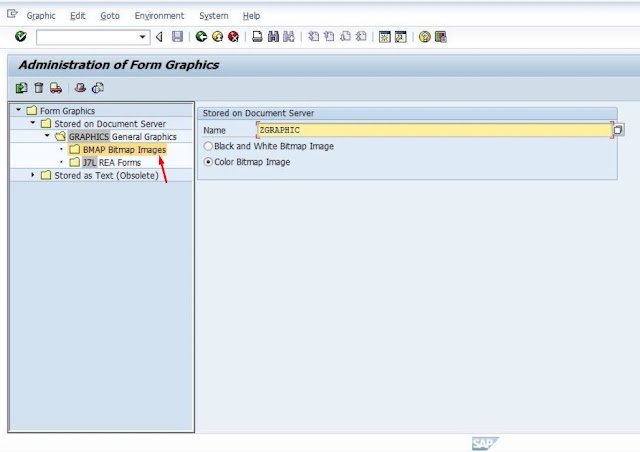
Import Graphic From PC To Sap.
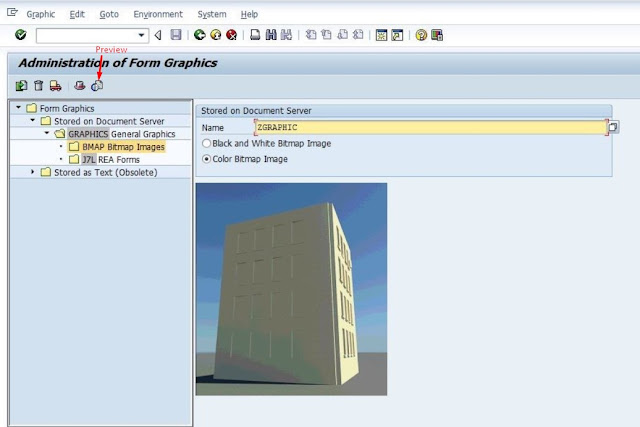
Go TO TCODE SE78 . Double Click on Bitmap Images. Enter Name Of Graphic . Choose Type Of image ( Colour or Black and White)
Click On Import . Choose image file from PC . Enter Graphic Name & Select Type . Press Enter.
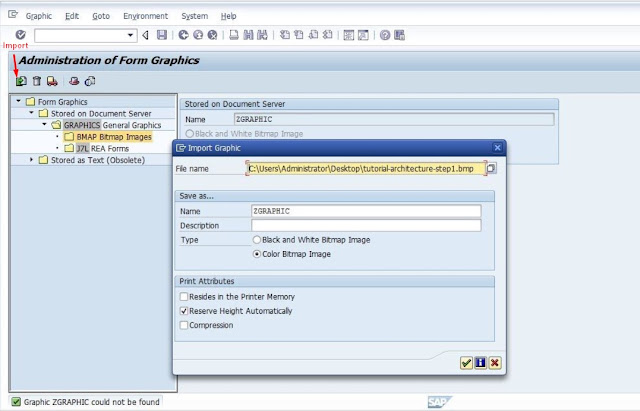
For Preview Of Imported File , Click Preview .
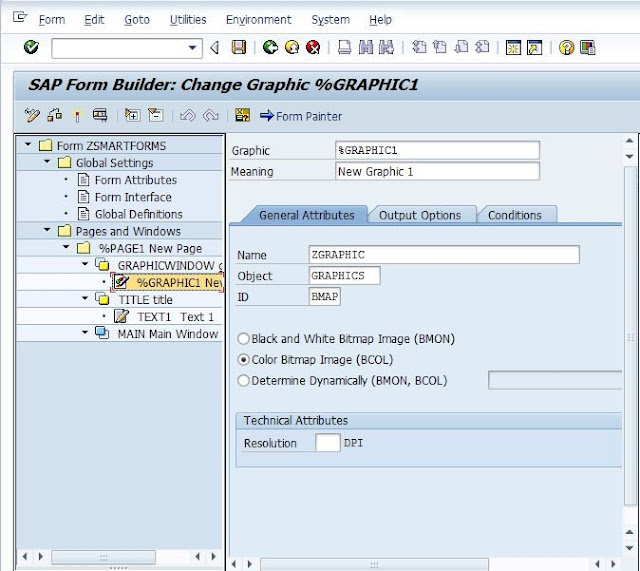
Right Click Page & Windows → Create → Graphic.

Provide Name OF Graphic , Object & ID. Select Color Bitmap Image.Set Position & Size of Graphic Window.
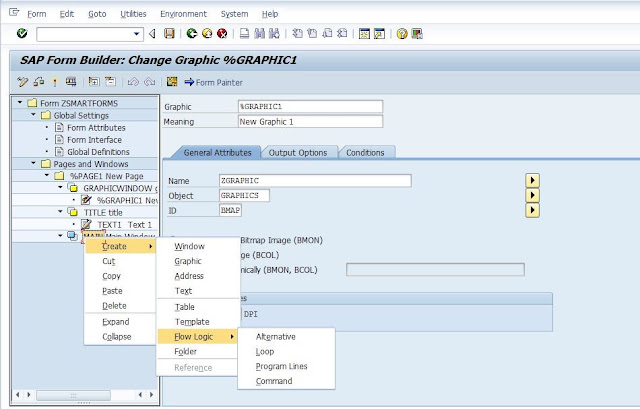
Step 7. Create Flow Logic .
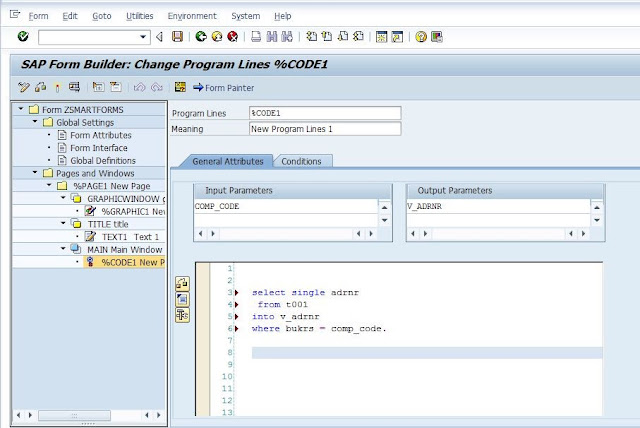
Right Click on Main → Create →Flow Logic →Program Lines.
Provide Input & Output Parameter. & Fetch Data From Database.
Step 8. Create Address .
Right Click Main → Create → Address. Provide Address Number. (&V_ADRNR&).
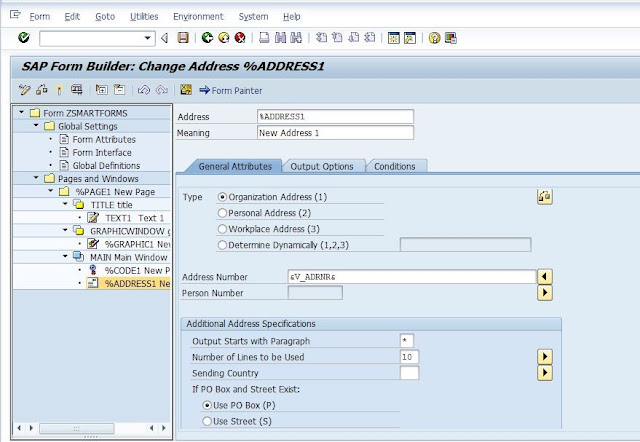
Set Position & Size Of main Window .
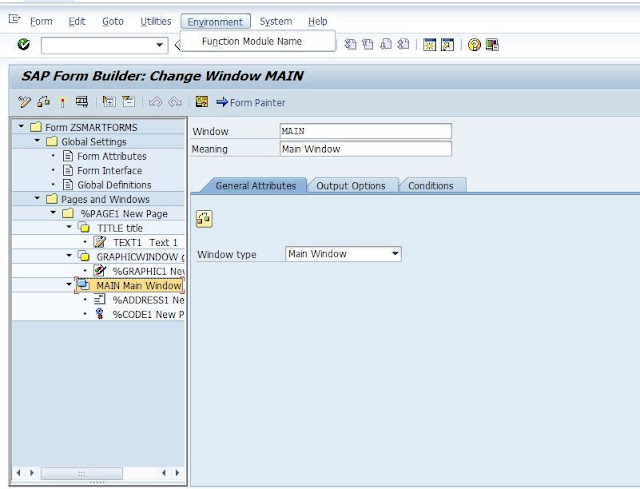
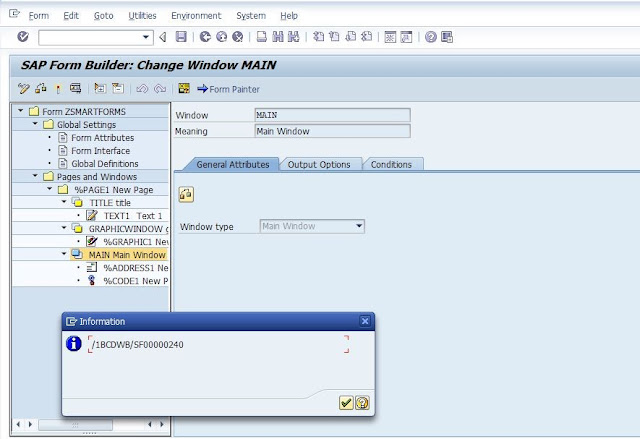
Step 9. Save Smartform , Check & Activate. Function Module is Created .
Go To Environment → Function Module Name.
Step 10. Execute Smartform.
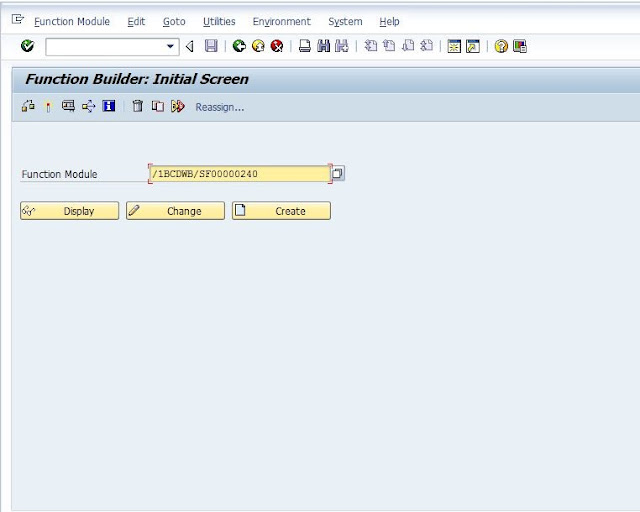
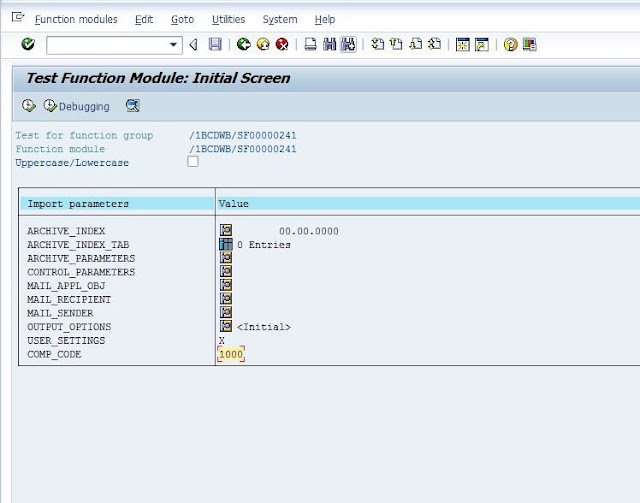
Execute Function Builder. Provide Import Parameter Value. & Execute.
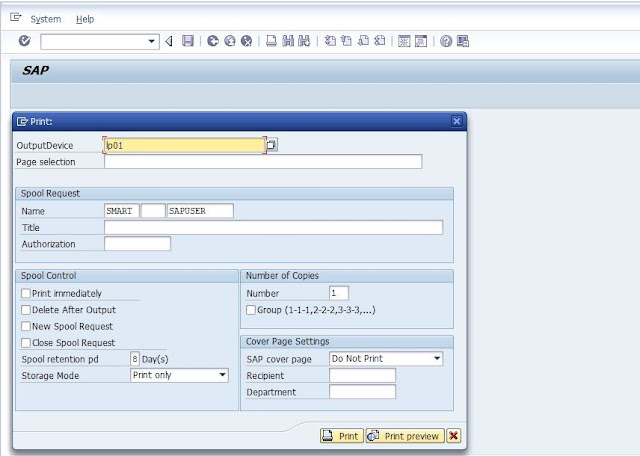
Provide OutputDevice Name.
For Print , Click on Print.
For Preview, Click On Print Preview.
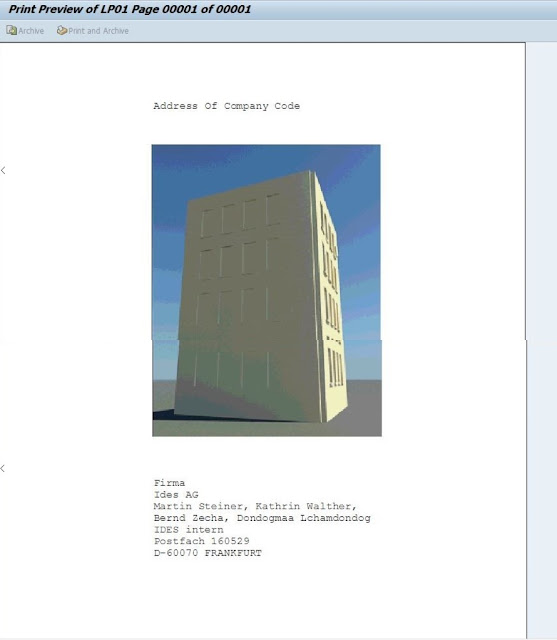
Print Preview.
Click On Create

Step 2. Form Attributes . Enter Description.

Step 3. Form Interface, Provide Import parameter.

Step 4. Global Definition , declare Variables.

Step 5. Create Title Window.
Right Click on pages and windows → Create → Window.

Provide Window Name. Provide Position & Size Values.

It Can Be Set Manually , Click On Form Painter & adjust Position & Size.

Create Text For Title Window.
Right Click On Title → Create → Text.

Enter Text For Title in Text Editor.

Step 6. Create GraphicWindow.
Right Click on Program & Windows → Create → Window.
Provide Window Name & Type.

Create Graphic For Graphic Window.
Import Graphic From PC To Sap.
Go TO TCODE SE78 . Double Click on Bitmap Images. Enter Name Of Graphic . Choose Type Of image ( Colour or Black and White)

Click On Import . Choose image file from PC . Enter Graphic Name & Select Type . Press Enter.

For Preview Of Imported File , Click Preview .

Right Click Page & Windows → Create → Graphic.

Provide Name OF Graphic , Object & ID. Select Color Bitmap Image.Set Position & Size of Graphic Window.

Step 7. Create Flow Logic .
Right Click on Main → Create →Flow Logic →Program Lines.

Provide Input & Output Parameter. & Fetch Data From Database.

Step 8. Create Address .
Right Click Main → Create → Address. Provide Address Number. (&V_ADRNR&).

Set Position & Size Of main Window .
Step 9. Save Smartform , Check & Activate. Function Module is Created .
Go To Environment → Function Module Name.


Step 10. Execute Smartform.

Execute Function Builder. Provide Import Parameter Value. & Execute.

Provide OutputDevice Name.
For Print , Click on Print.
For Preview, Click On Print Preview.

Print Preview.


0 comments:
Post a Comment